Installation Guide for HVAC Scent Diffuser
வகைப்பாடு: வலைப்பதிவு Release Time: 2023-06-14 Pageviews: 2551
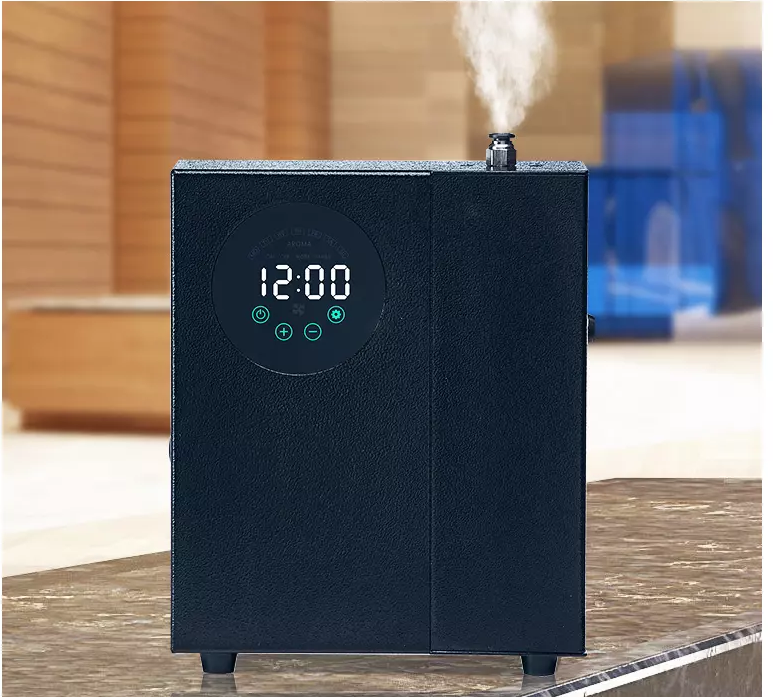
The HVAC scent diffuser is a revolutionary tool that can improve the indoor air quality of your home or office. It is designed to work with your heating, ventilation, and air conditioning (HVAC) system to distribute fresh and pleasant fragrances throughout your living or working space. In this article, we will provide a step-by-step guide to help you install your HVAC scent diffuser.
Step 1: Gather the Required Tools
Before you begin the installation process, make sure you have all the necessary tools on hand. You will need a screwdriver, pliers, wire cutters, and a drill. You may also need a stud finder and a level if you are mounting the diffuser on a wall.
Step 2: Choose the Right Location
The location of your HVAC scent diffuser is crucial for its effectiveness. You should choose a location that is close to the HVAC system, but not too close that it interferes with its operation. You should also choose a location where the scent can be evenly distributed throughout the room. It is recommended that you mount the diffuser on a wall, but you can also place it on a shelf or table.
Step 3: Shut Off the Power
Before you start installing the scent diffuser, you must shut off the power to the HVAC system. This will prevent any accidents or injuries from occurring during the installation process.
Step 4: Remove the Grille
For most HVAC systems, you will need to remove the grille to access the air duct. Use a screwdriver to remove the screws holding the grille in place. Once the grille is removed, set it aside in a safe place.
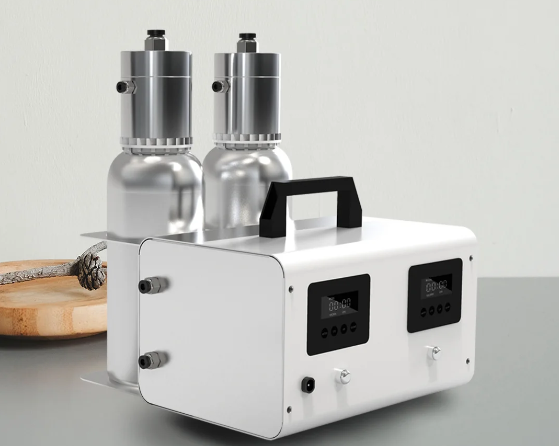
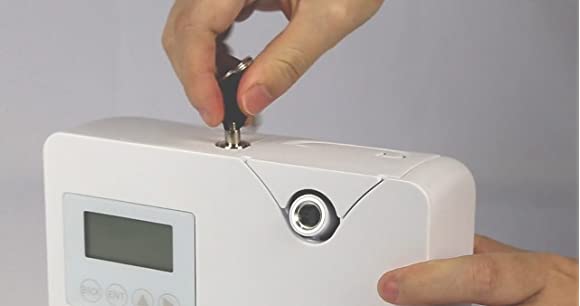
Step 5: Install the Scent Diffuser
The scent diffuser should come with a mounting bracket that will attach to the air duct. Use the screws and screwdriver to attach the bracket securely to the duct. Then, attach the scent diffuser to the mounting bracket using the screws provided.

Step 6: Connect the Wiring
The scent diffuser will come with a power cord that needs to be connected to a power outlet. Use the wire cutters and pliers to strip the wires and connect them to the appropriate terminals. Make sure the connections are secure and free from any loose wires.
Step 7: Test the System
Once the scent diffuser is installed and wired, it is time to test the system. Turn on the power to the HVAC system and check if the diffuser is working correctly. You should be able to smell the scent within a few minutes. If the scent is not distributed evenly, you may need to adjust the location of the diffuser or increase the intensity of the fragrance.
In conclusion, installing an HVAC scent diffuser is an easy and straightforward process that can enhance the indoor air quality of your home or office. Just follow the steps outlined in this article, and you will be able to enjoy the benefits of fresh and pleasant fragrances in no time.